Is your Nomatic Peter McKinnon Camera Pack 25L the best backpack you have bought to date? It is for me. After going through a plethora of different backpacks, starting from early model Lowe Pros, passing through a few Think Tanks, and all Peak Design bags (and sling bags) they make, I finally found the holy grail in camera backpacks.
Although for an almost perfect backpack, there is still room for improvement. And I'm not talking about design changes, but inexpensive additions that makes it a more whole experience.
1. Magnetic sterum buckle
I love sternum straps. They provide the wrap around feeling to a backpack that makes it feel more secure, but I also like detaching, and if possible clipping them in with only one hand. The edge here is with Peak Design for the best sternum strap system I tried, and is also the simplest, with just a metal hook that wedges between different spots in the shoulder strap. Is also the easier to adjust for height, but that really happens only once or maybe twice in the lifetime of the backpack, unless you share it with someone else.
Then comes the Bellroy magnetic buckles, which are a bit fiddly, and in my opinion don't feel very secure. You also need to pay attention to squeezing the buckle correctly to detach it one handed, but locking it in is still not really a proper one hand operation. The left side of the buckle is a bit on the heavier side, and the strap itself is thin and lightweight, so is difficult to clip it one handed.
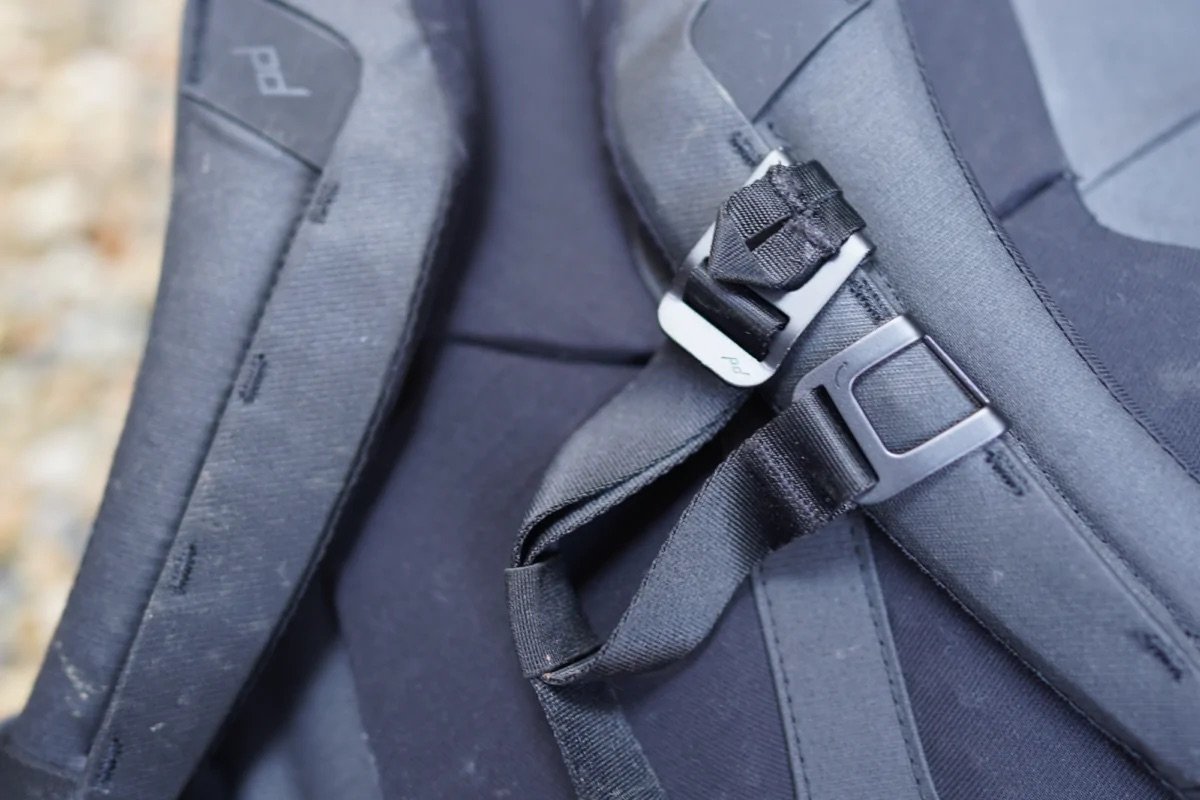
Finally, every other sternum strap I have found has the standard buckle that you see in any other backpack. I was hoping Nomatic being so modern and high tech would have come with a fancier system, but I was a surprised, and a tad bit disappointed that it uses a standard buckle. Don't get me wrong, the standard buckles are not bad, they have been used for decades, they are simply… well… boring.
Can be detached one handed, but clipping it in is a two hand operation.
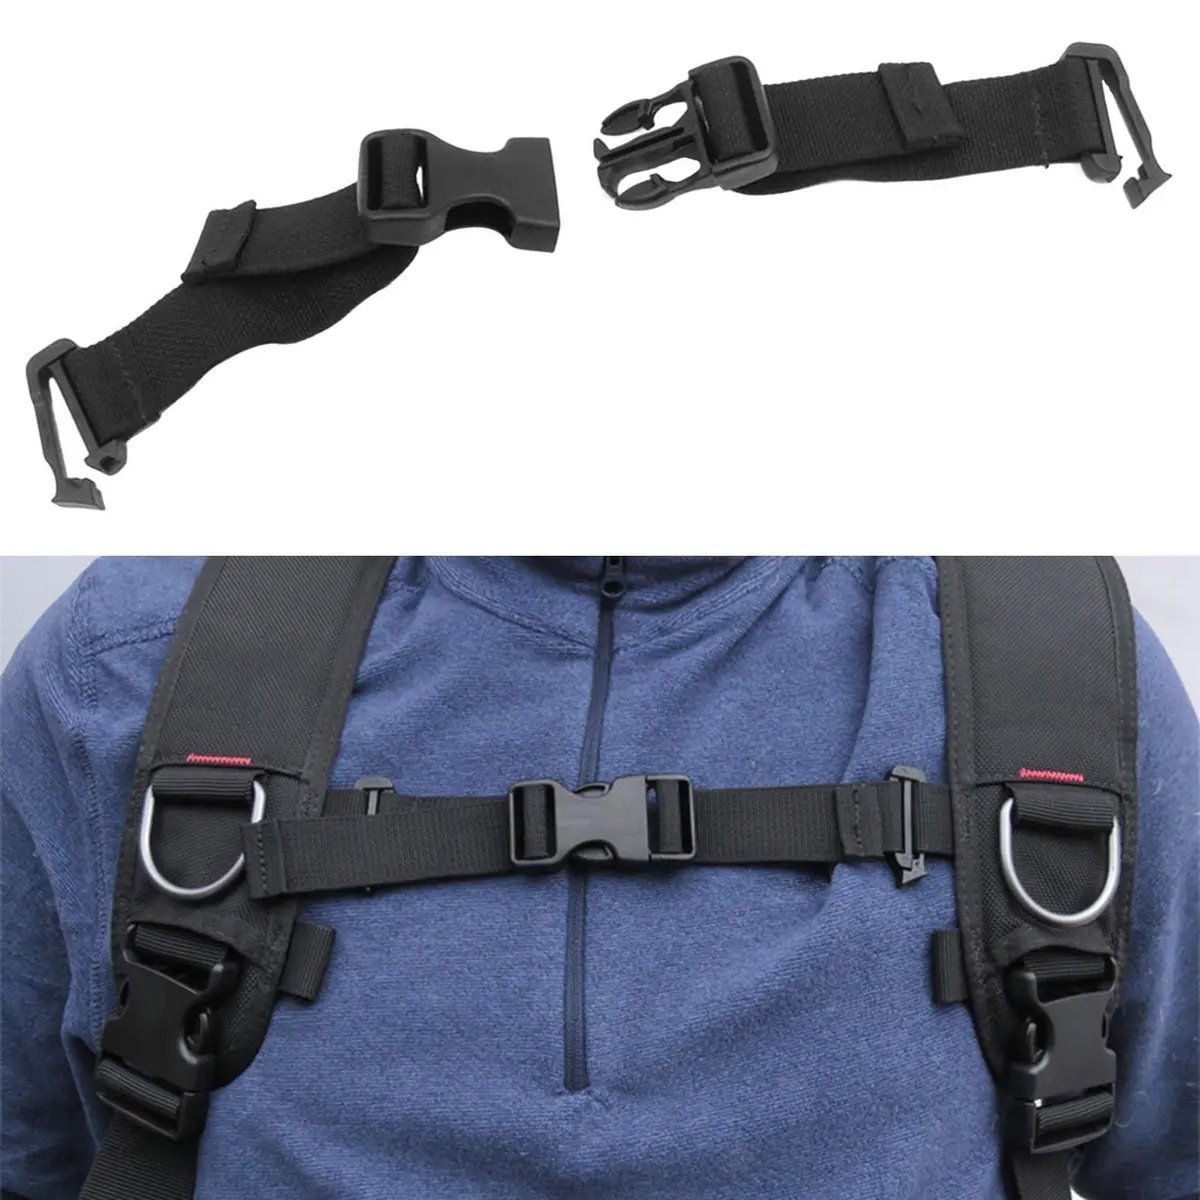
My last backpack before the Nomatic was a Vanguard VEO GO 64M, which was really a good idea, but sadly a bit poorly executed. I sold it very fast, though. The problem is that this bag didn’t come with a sternum strap, so searched Amazon for a solution and found the 8TIMBER Stern Link Quick Release Magnetic Sternum Strap. (Amazon link: https://amzn.to/4cmURv8)
It worked somewhat well for the Vanguard, but since I parted from it, it was left unused. I wasn’t going to give it away for free.
The clear and grey version was on discount, so I got that one instead of the black, and it kind of stands out, so I kind of like it.
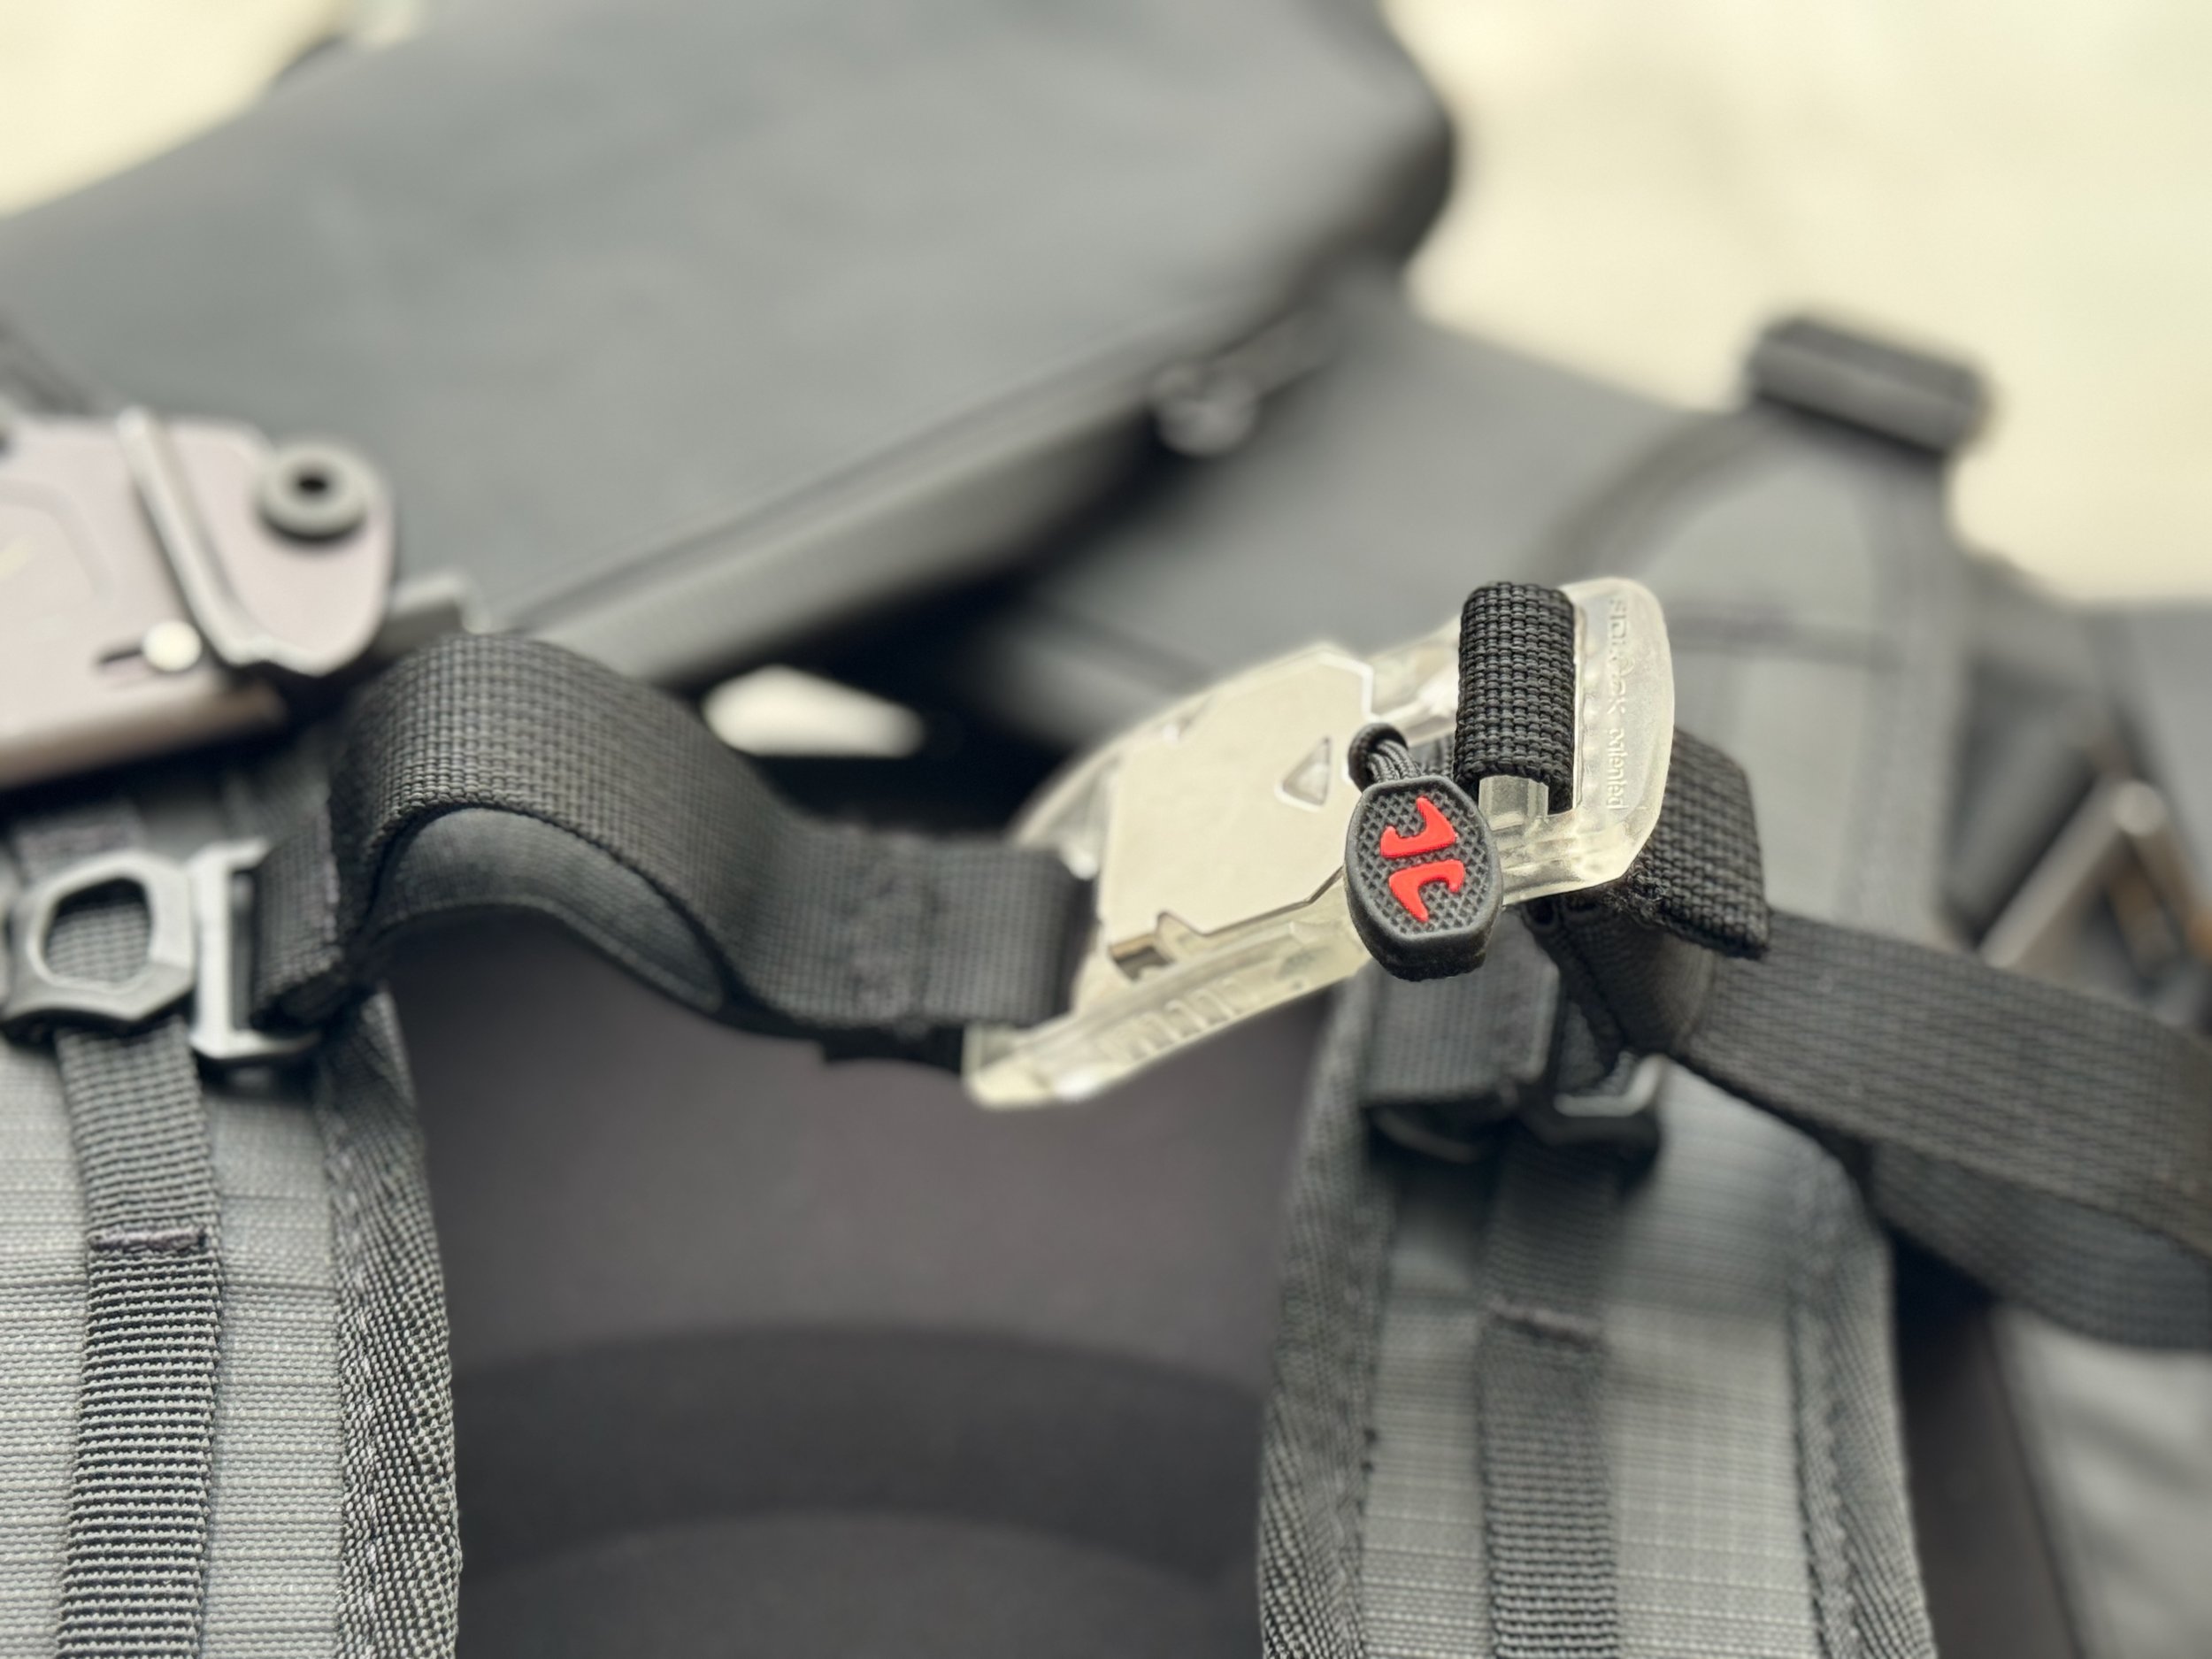
One thing that I hated was the weaving clip it uses to attach to standard shoulder straps, so when I decided to use it for my new backpack I was not going to use the ugly and quite harsh webbing strap it came with, so instead modified the Nomatic strap, removed the buckle by cutting the threads without damaging the strap, and sewing it back in with the magnetic buckle. You can see the final results on the right.
This buckle is a breeze to use. Since the Nomatic strap has some heft to it, it mostly remains horizontal, and you only need to bring the main buckle closer and it makes a very reassuring "Click!”, then you know is ready to go. To detach it, simply pull the rubberized zipper pull with the 8TIMBER logo, and both sides come apart easily. If you have sewing abilities, is very easy to do. If not, ask your Grandma and she'll be happy to help you.
Is not always possible to use only one hand to attach it, mostly depends on how busy you are, and how full the backpack is, but most of the time is a one hand operation
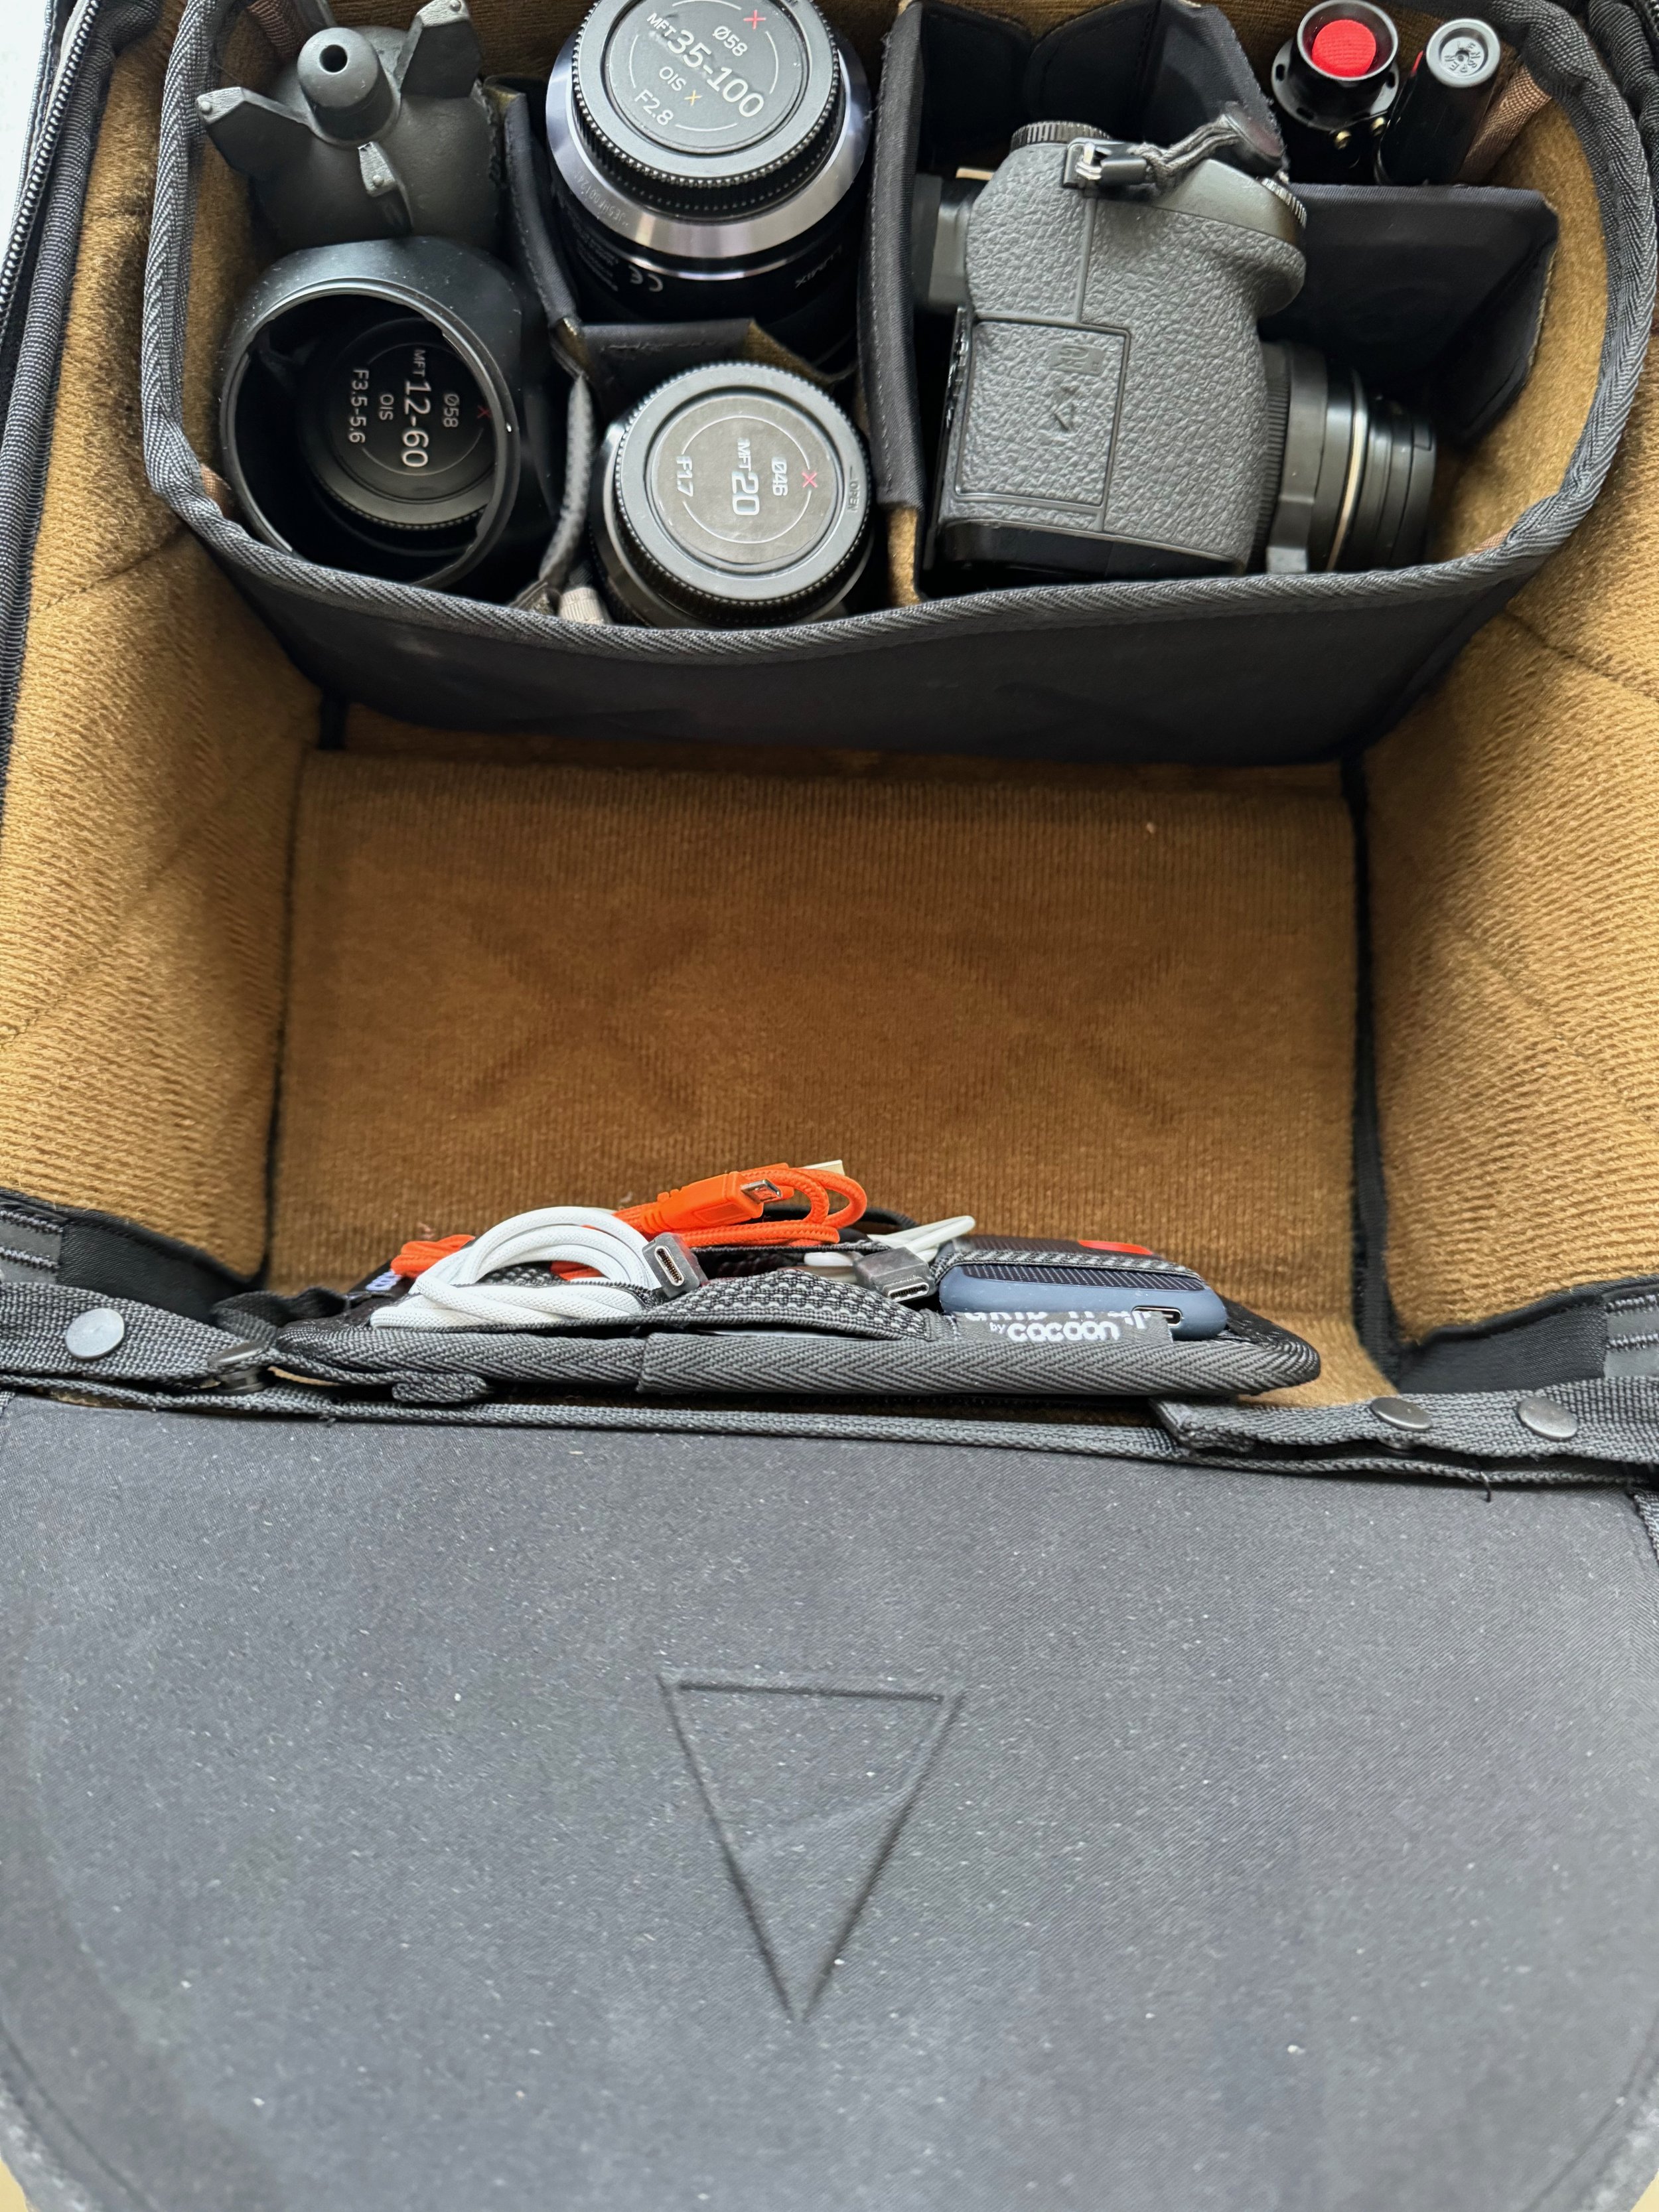
2. Cable Management System
The reason why I came with this idea is simple. I dropped a few cables on the top zipper, and moving around they started bulging and I didn't like that. So I though there should be a better way.
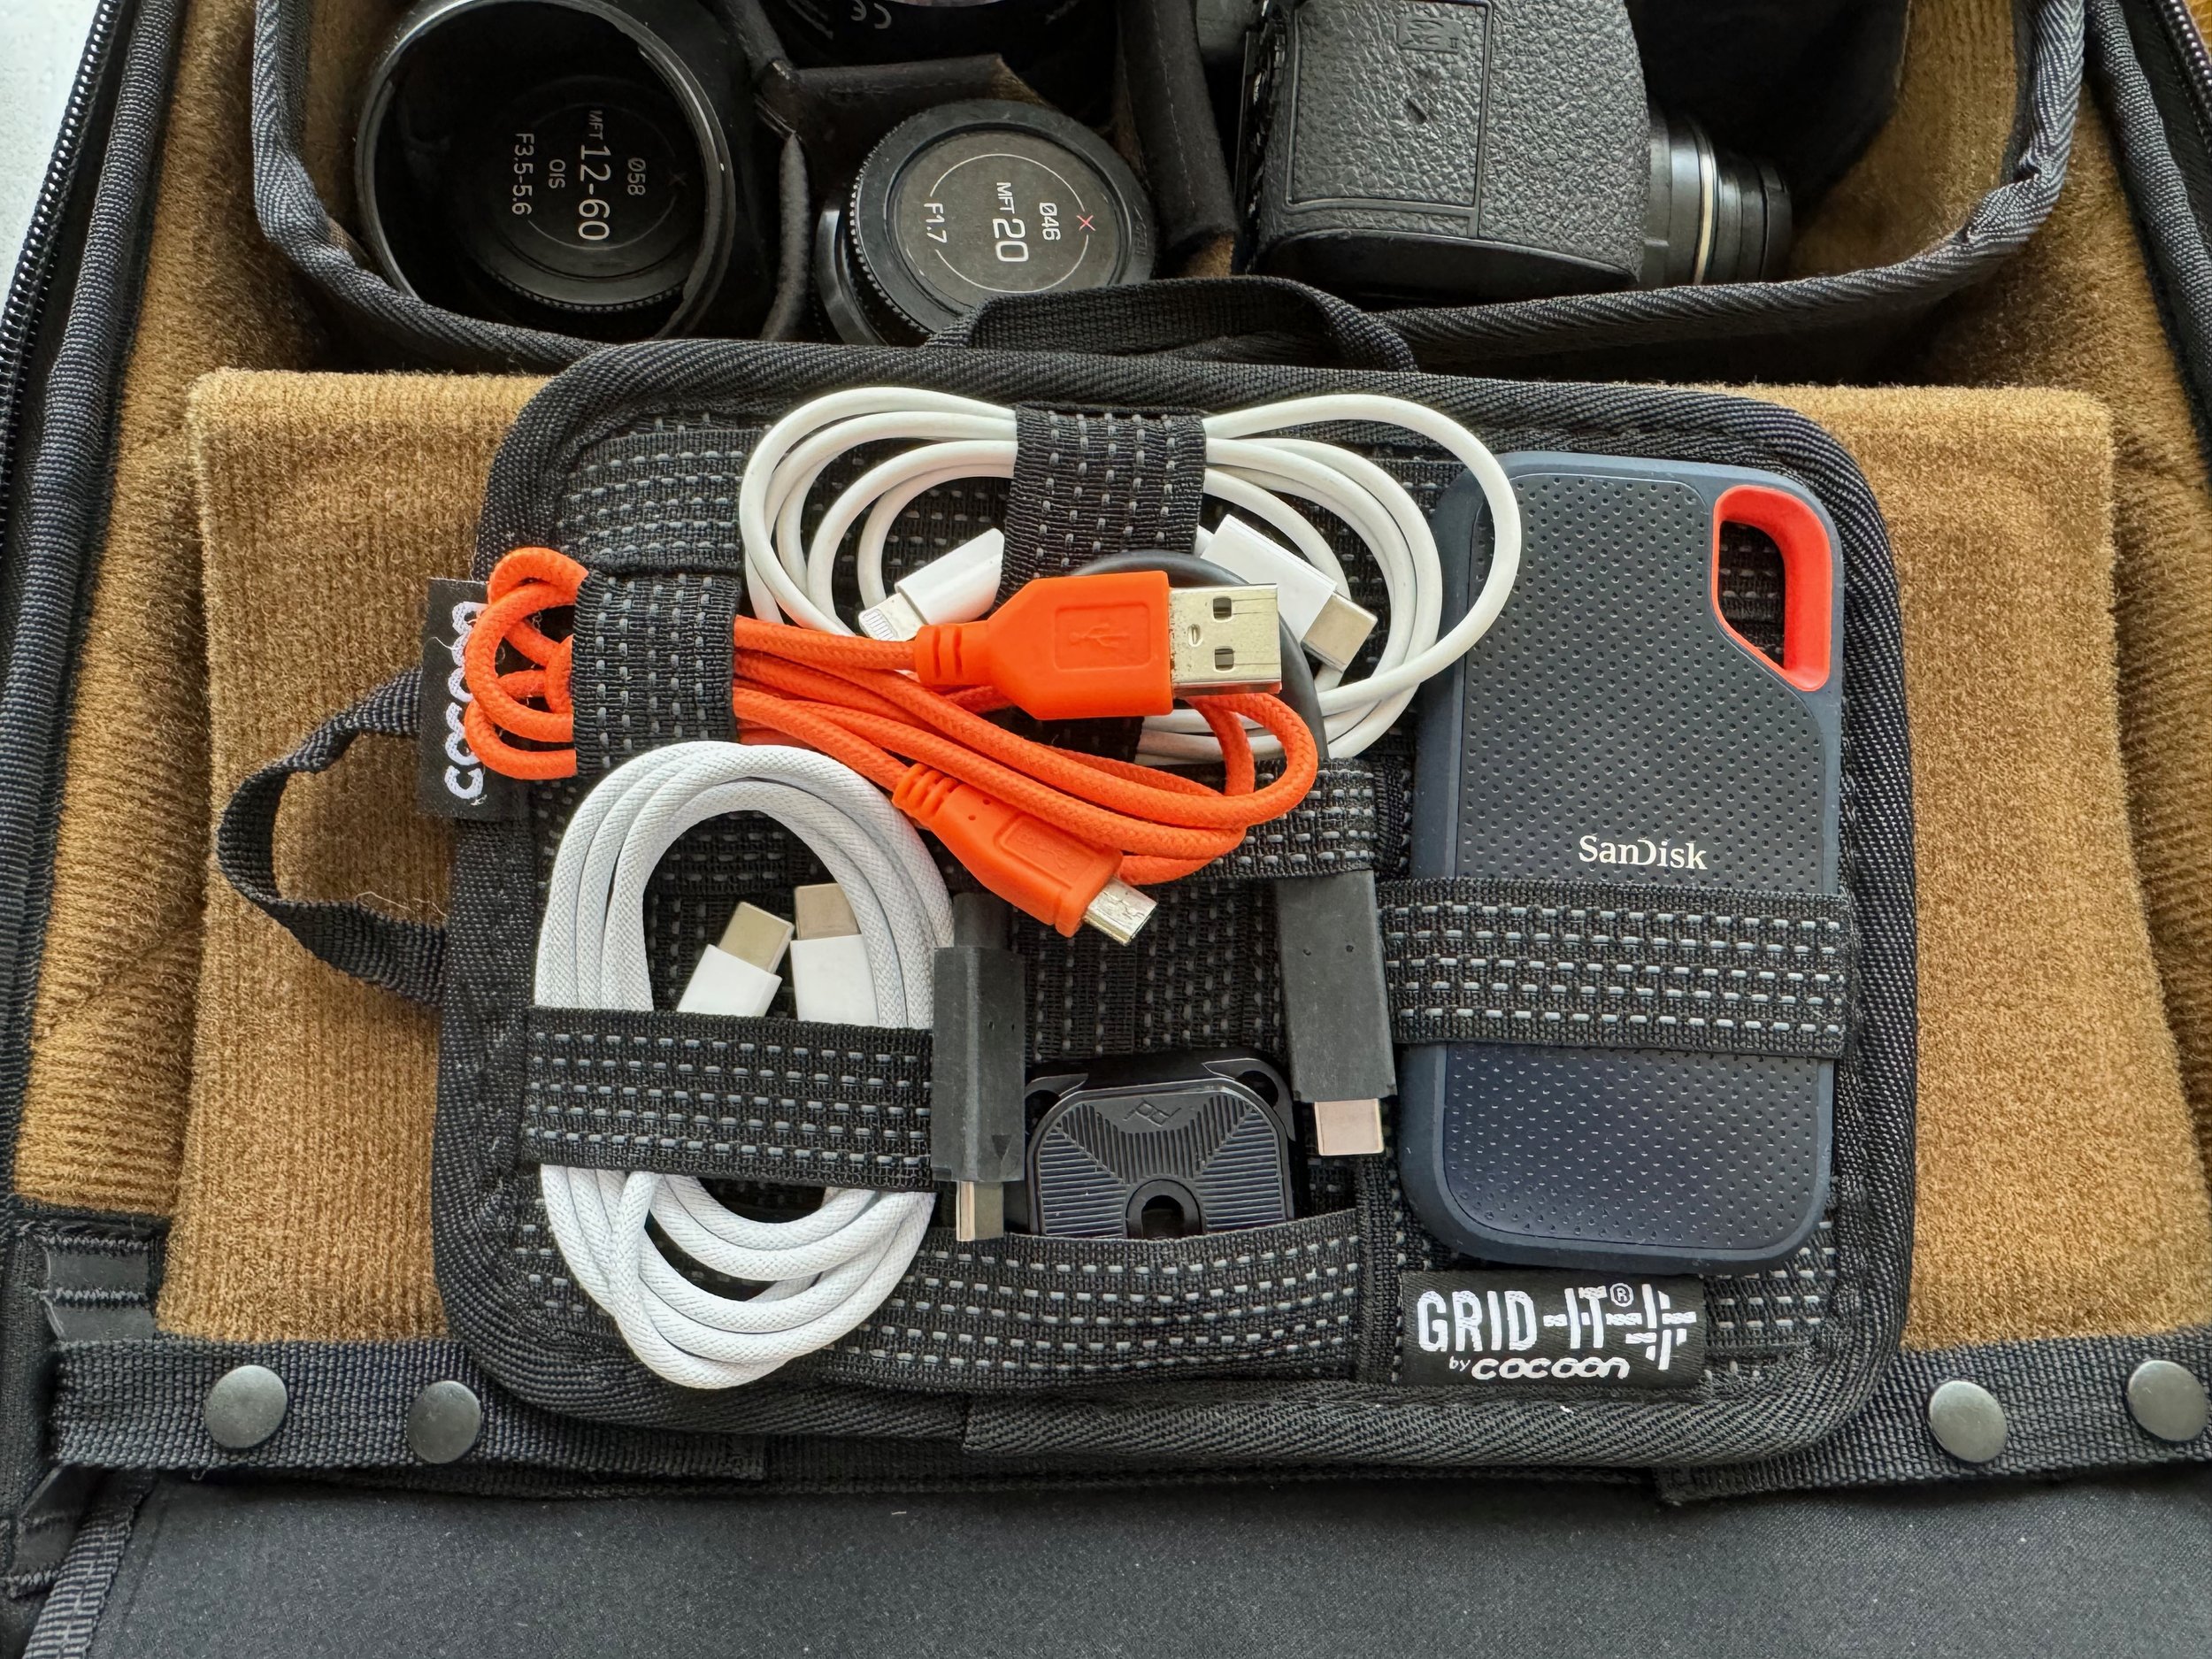
Welcome to the Cocoon Grid-It system. Amazon link: https://amzn.to/3IFouuj

I found it in Amazon, and bought the smaller size I could find, but the initial idea was to slip it inside one of the pockets. It barely fits inside, but trying to use anything weaved into it I need to pull it out, and that is not very practical. So it occurred to me to put it outside, but where?

What if I glue a strip of velcro to the back of the Grid-It (BTW, Cocoon guys? Please do it from the factory. It won't change the thickness much, but it'll be so much worth it. BTW, please forgive me for my very lousy glue job. But it'll be hidden anyway, so I wasn't too careful.
Then the logical spot was the “Loft”. There is plenty of furry material in the back side to fit it there. And if I close the loft, it'll slide down. And initially it worked, but when I put a 2nd camera cube, the Grid-It gets completely unusable, unless I remove the cube. Not elegant or practical at all.

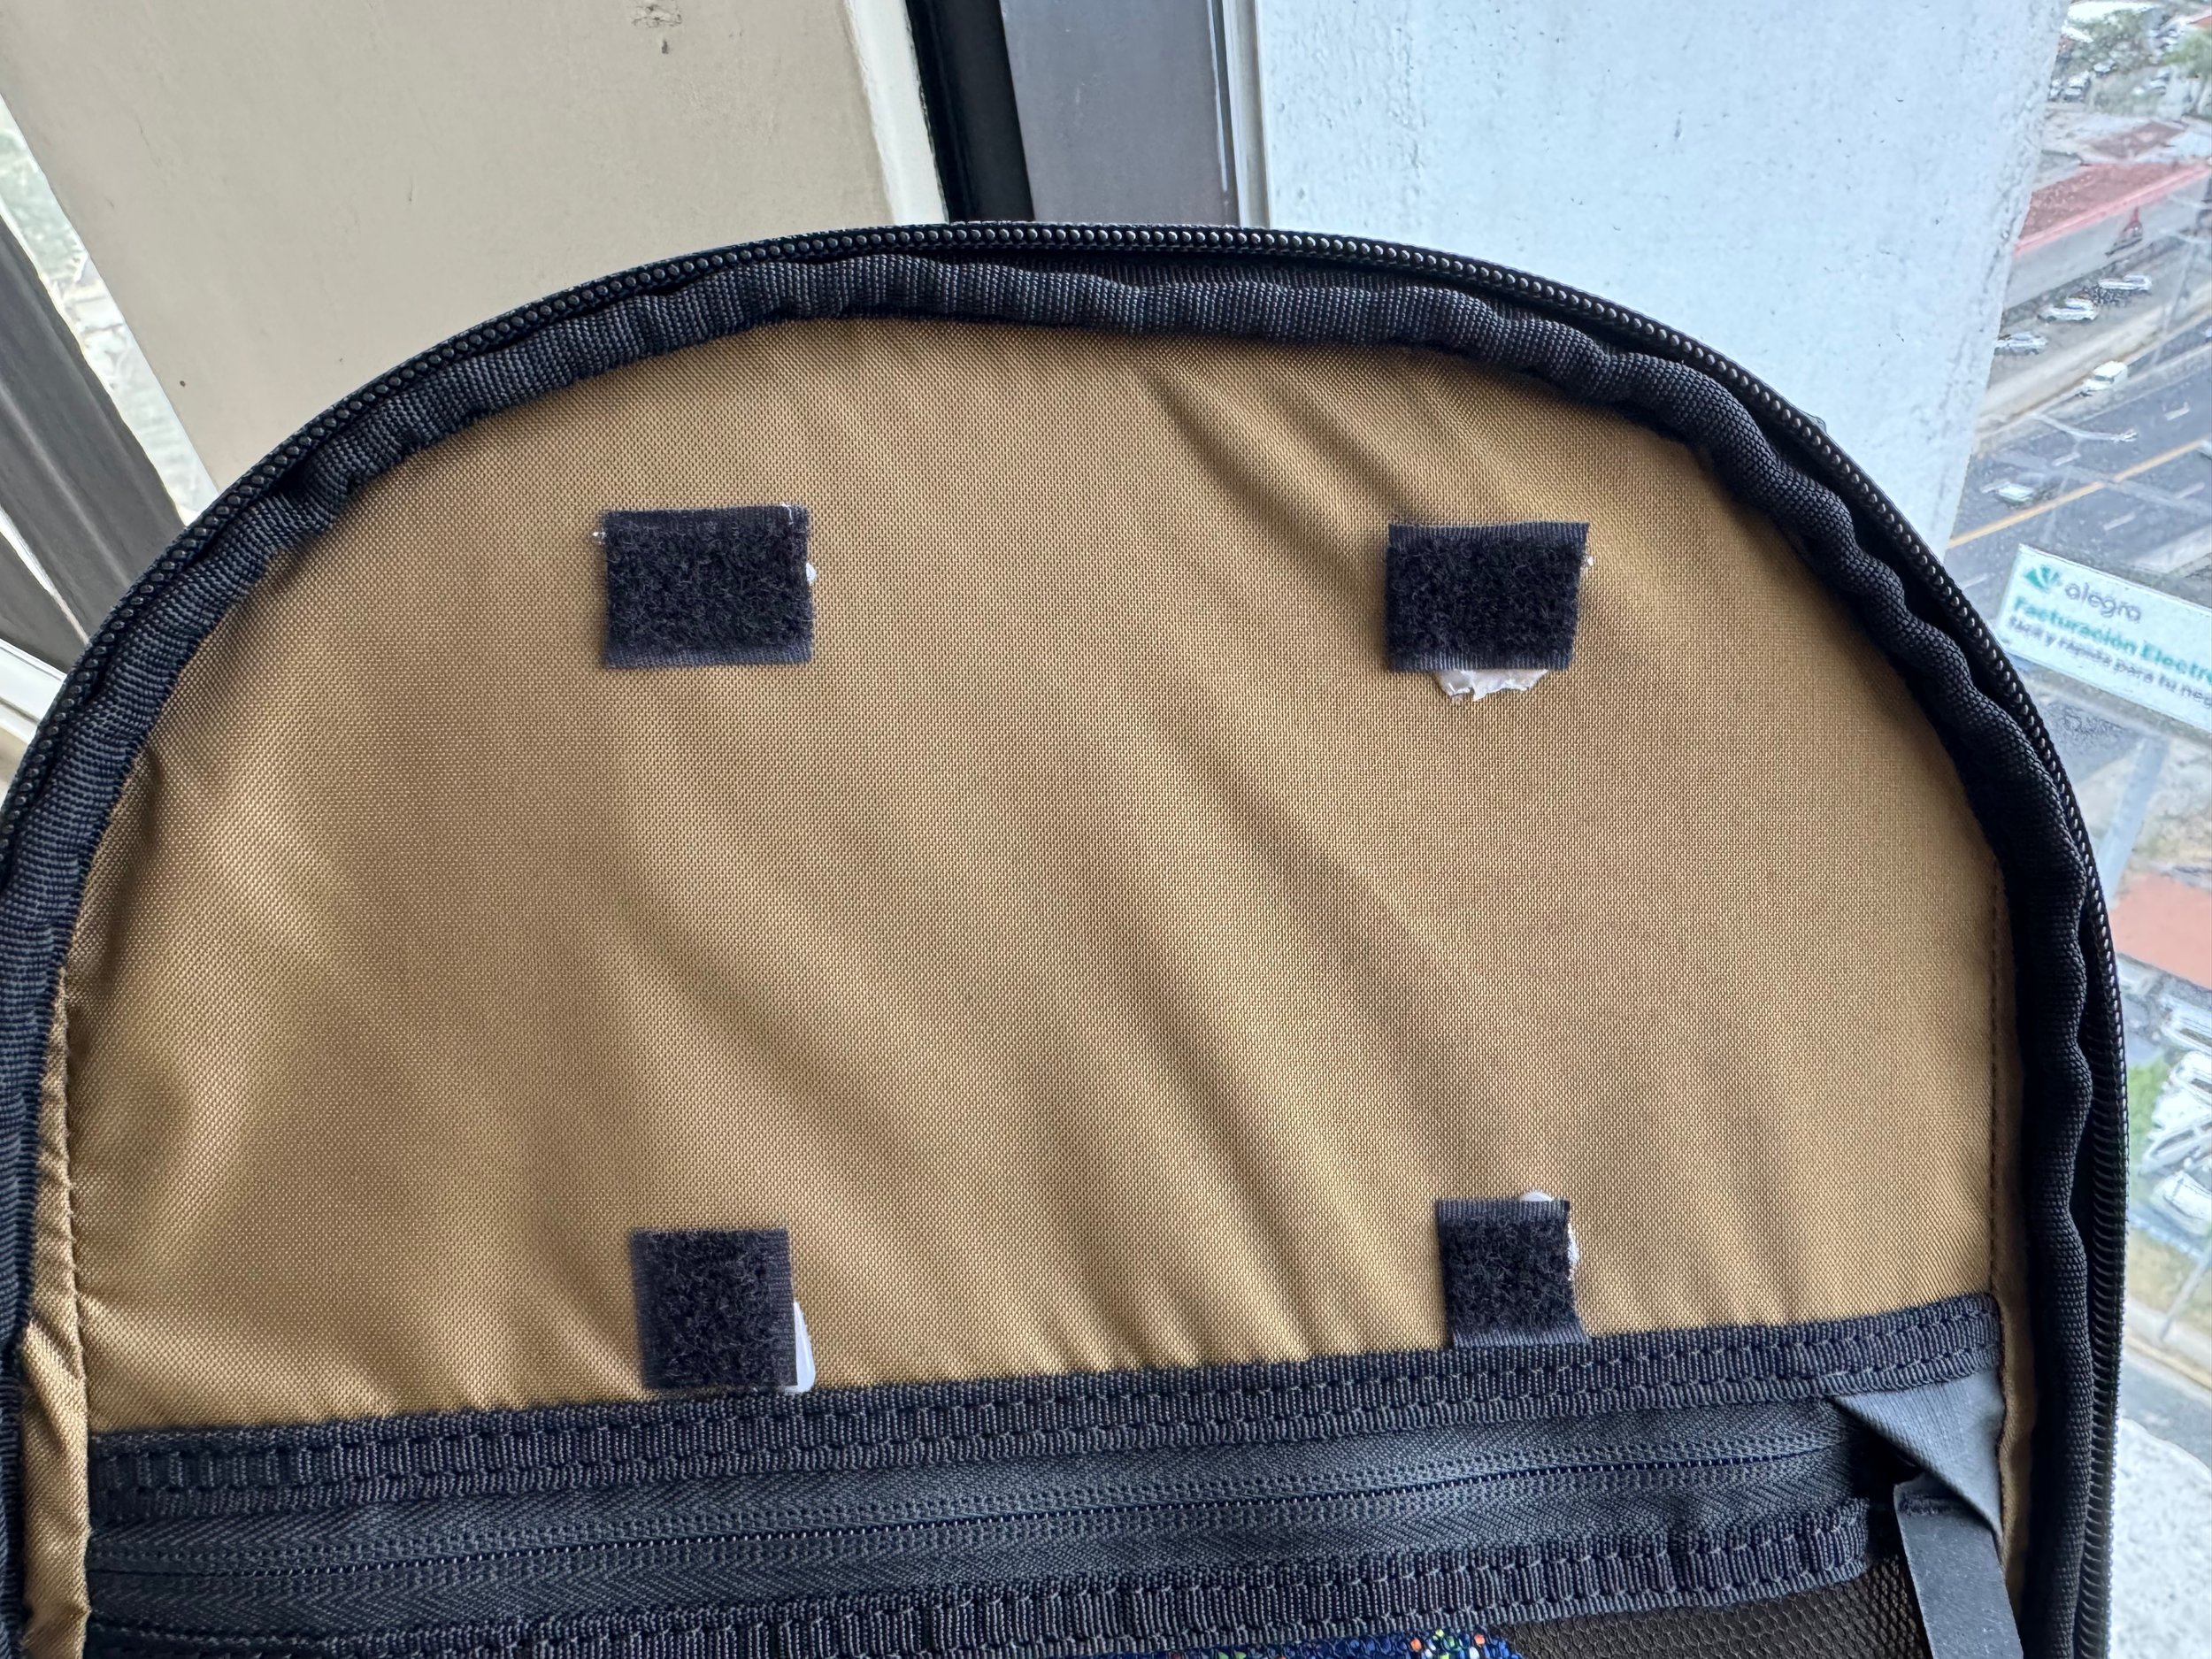
Then I thought: when the backpack is open, there is a space above the two zippers that is simply, well, unused. Don't you think they should have done something in it? Sadly it doesn't have the same furry material than the rest of the inside of the bag, so you can't really attach anything with velcro there, but… can you?
Let's do the same. But I don't want to glue long strips of velcro to my new bag with hot clue, just a few little squares that can be easily removed is needed. NOMATIC, please. Put the same furry stuff up there in the next version, yes?
Version 1, not a very good hot glue job.

Version 2, better glue job, but not very simmetric.

And there you go, the final product. Since for this Blog I removed and reattached the Grip-It a couple times, the Velcro spots started tearing out, but if I leave them alone, it should hold for a while.
In the future I might consider sewing the velcro, just to make it neater, maybe get brown ones so is more "stealthy", but so far is working.
3. Red Zipper pulls

One complaint from some of the reviewers is that all zipper pulls are black, and when they are together in the top of the bag can get a bit confusing to figure out which is which. I try to keep the main bag pulls on the down and left position, and the Loft pulls in the top right.
So, heat shrinking tubes to the rescue. You can find here (https://amzn.to/3IHStSf) the specific tubes I used, which have an internal adhesive, much like the originals that came with the bag.
Initially I thought about using a size big enough to cover the whole pull, without removing the factory black tubing, but it looked too thick and bulky, so I clipped the black ones with a fine scissor (Victorinox Swiss Army knife scissors are great for this), and adhered the red ones.
I know, buying 190 pieces of tubing to only use one is kind of too much, but I really love heat shrinking tubing. Looked like magic when I saw it the first time when I was like 12 years old. So I use it for everything electrical, and also mod zipper pulls for my other bags.
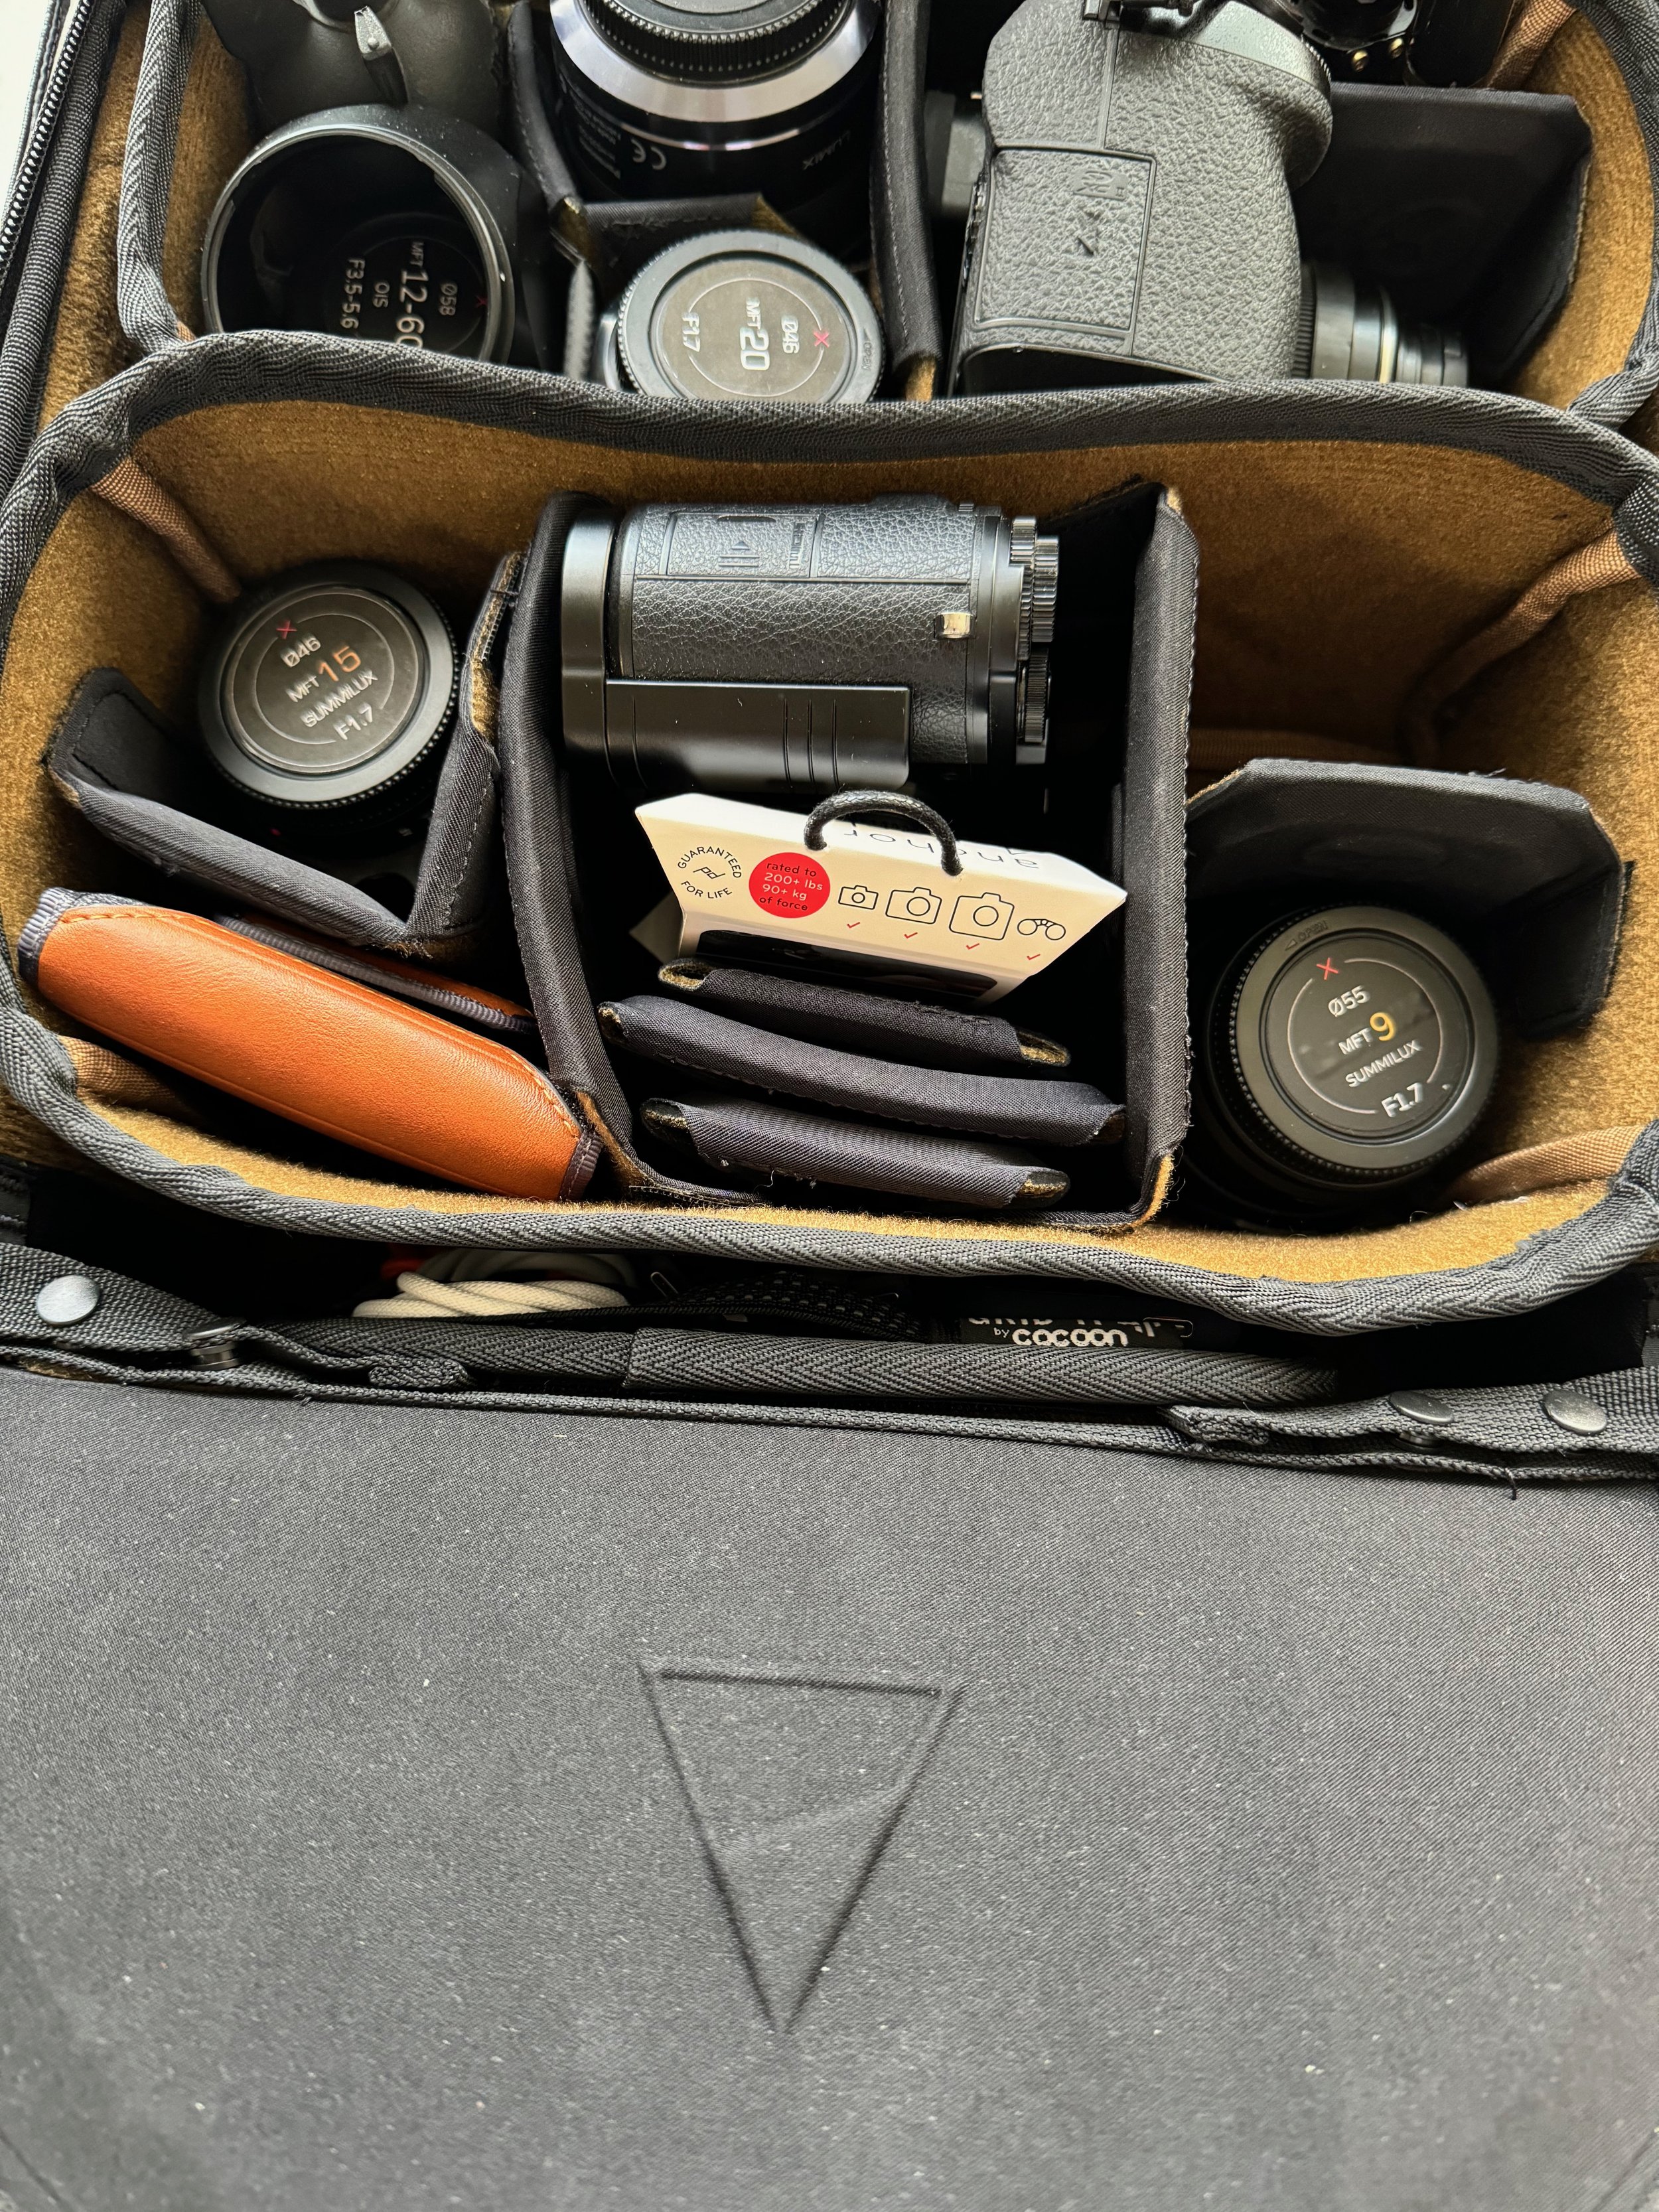
4. Peak Design’s Floating Pockets

That’s the name the people from Peak Design gave to this little gadgets. I really never used them on my older PD Travel Backpack. They are designed to be used inside their camera cubes. I sold that backpack years ago, although kept the pockets in a box just in case one day I might find some use to them. I know that I had two of them, but just found one. I searched the PD website and they are no longer available for purchase. Searched amazon, nothing. Finally found them in B&H: https://www.bhphotovideo.com/c/product/1449658-REG/peak_design_bcc_pk_1_floating_pocket_for_camera.html
They are pretty cheap at less that $5, so bought two of them and they are in the mail as we speak. This bag is amazing for this kind of Velcro thingies, as it has furry surfaces all over the place. Except above the two zippered pockets. NOMATIC, please…
5. Attachments Galore

I got this pack of assorted attachments for Molle straps from Amazon: https://amzn.to/4afMVdq. There are dozens of attachments, and I have really not found any use for most of them, but there are a few that really helps to the practicality of this bag.
I'm pretty sure you'll have much better ideas than me on what to do with them. I'd love to hear about it in the comments.
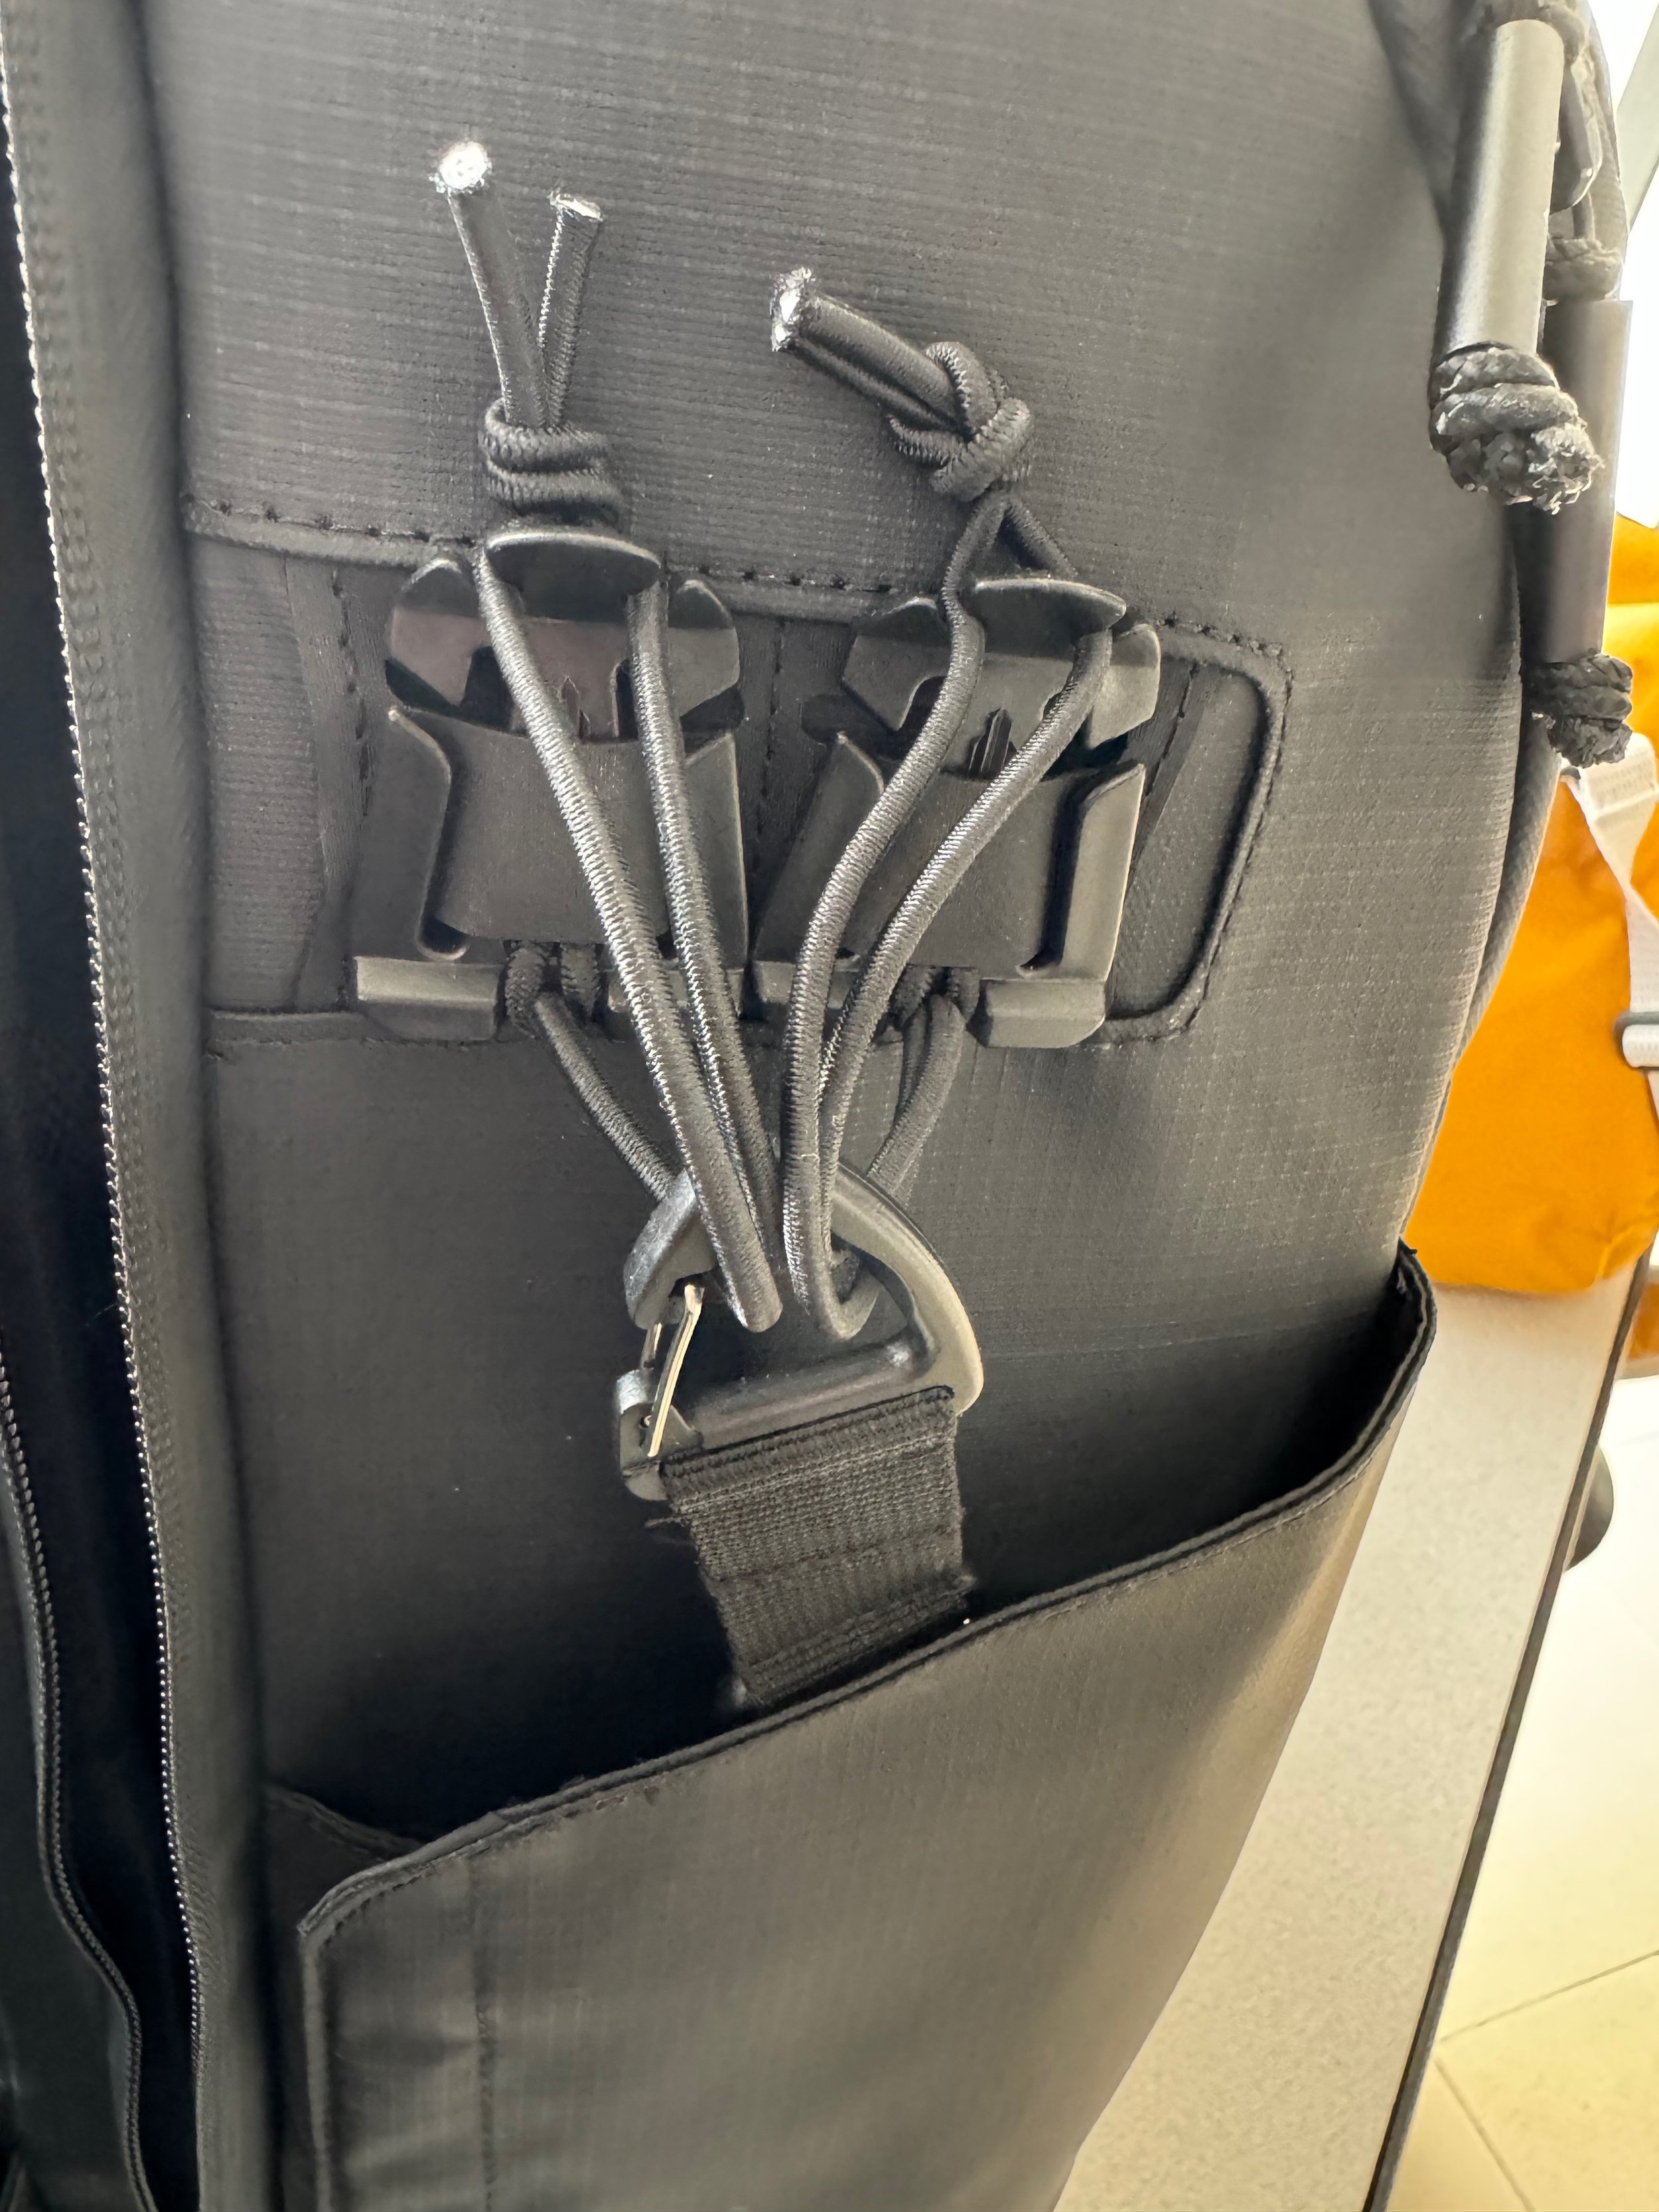
The bungy cord attachments are great for holding a tripod, an umbrella, a Roost laptop stand in its bag or even a foldable light modifier in a pinch. The Nomatic straps (which I also got) are supposed to be used for this but just attached them to the front of the bag. I have other plans for them.
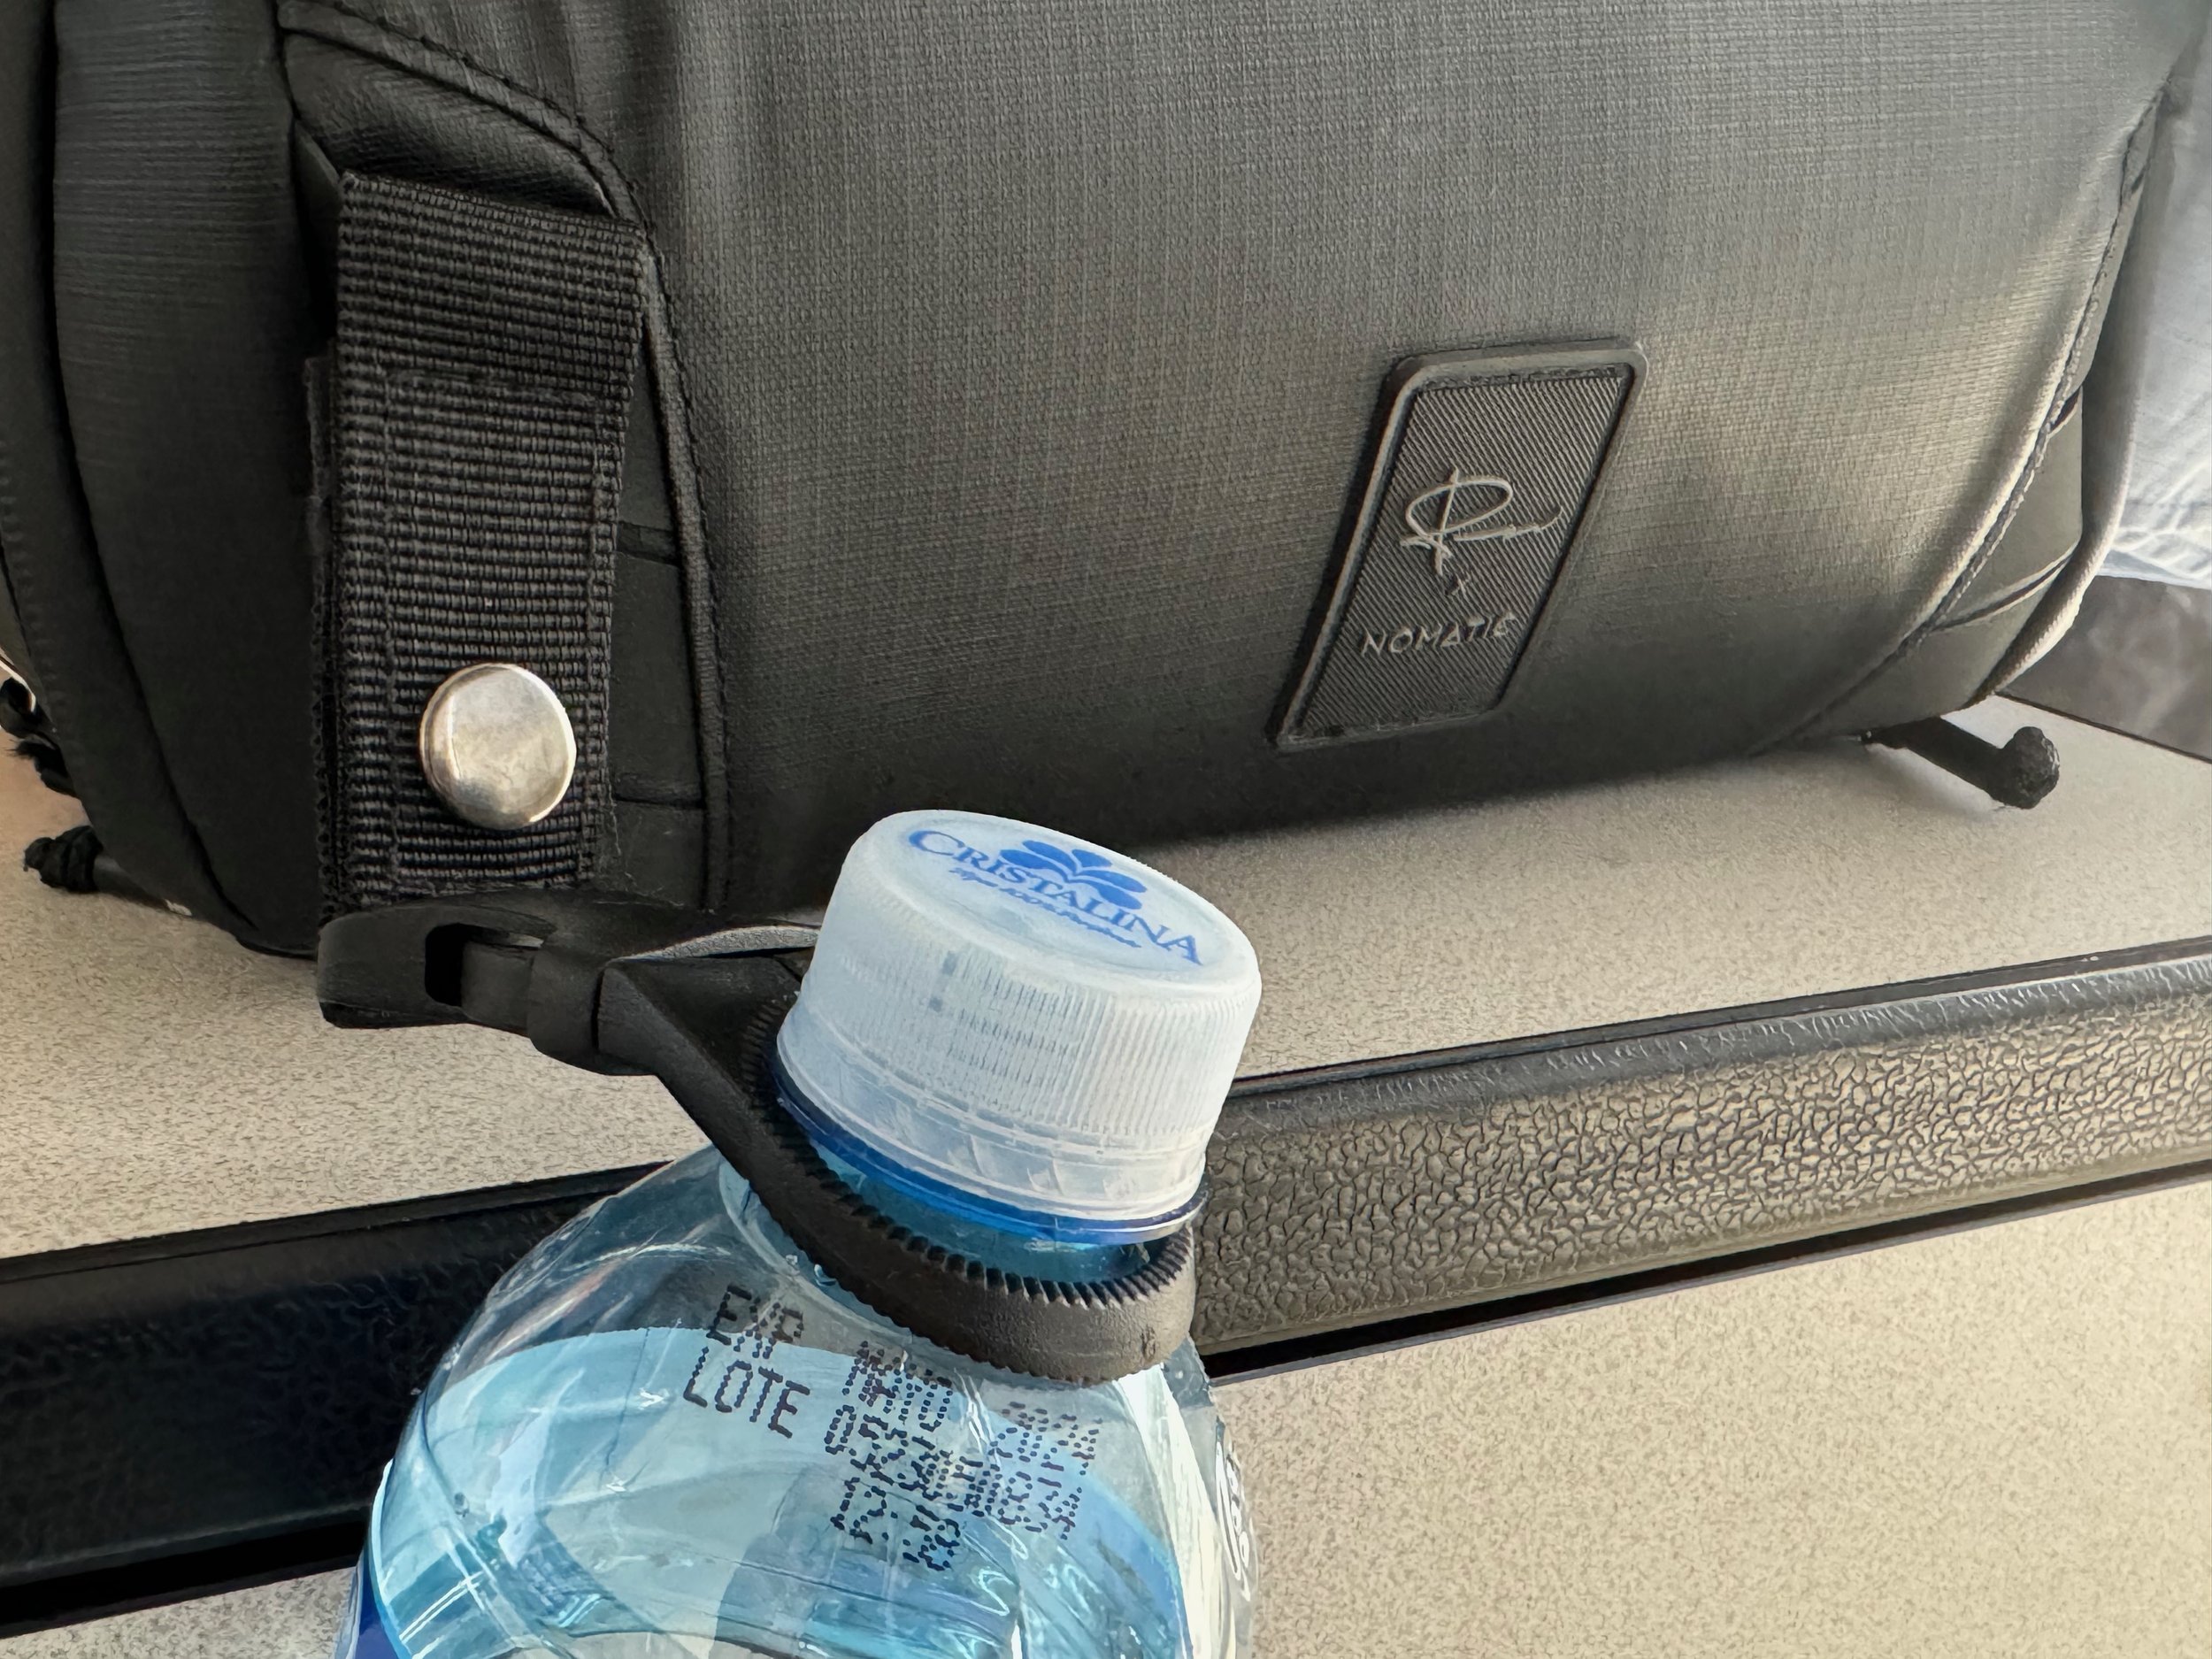
There is also a very neat bottle holder that I use with my Nomatic 8L sling on my daily walk. It bangs around a bit when I walk, so I’m trying different attachment points.
Right now is in one of the front Molle straps.

And finally I attached a couple of C clips to the front, weaved into the Nomatic straps, where I can attach my gym bag and go completely hands free when walking in and out of my office every day. I look like Sam from The Lord of the Rings, but I don't care. Love the comfort.
And that is it. Five ways you can customize your already awesome Peter McKinnon 25L Pack without breaking the bank. The bag itself already broke it :D